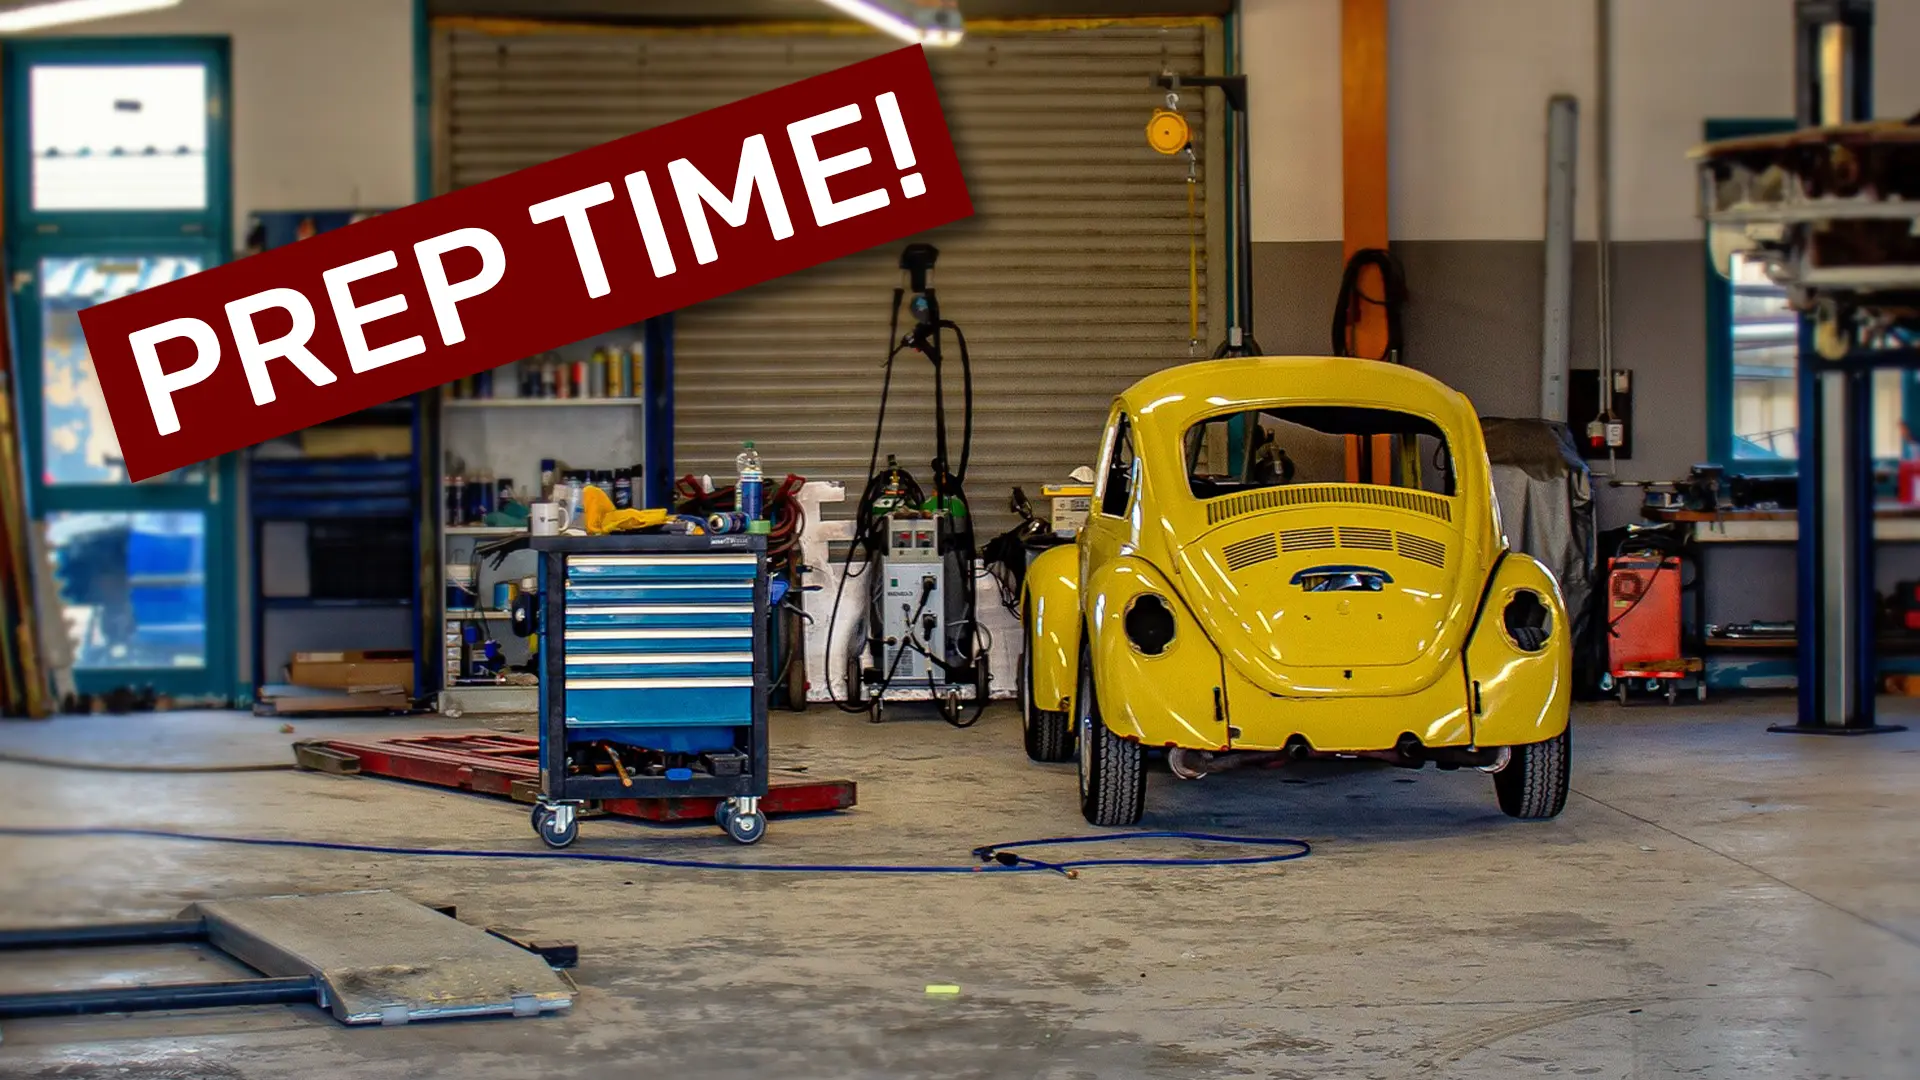
So, you’ve decided to upgrade your garage with GatorGuard’s garage floor coating—great choice! Whether you’re building an epic man cave, designing a craft room, home gym, or one of the many other uses for garages, epoxy flooring is an excellent option. Rest assured you’ll be happy with this floor for years to come, for its durability, aesthetics, and sheer longevity. Now, before the pros arrive, it’s time to get ready for your garage floor epoxy installation. Don’t worry; it’s not as daunting as it sounds. You’ve got this.
Garage Floor Epoxy Installation Prep: Step 1 – Clean Out the Garage
Let’s be real: most of us have garages that are packed to the brim. But now’s the time to clear it all out! Here’s how:
Move it out: Everything has to go. Yes, even that old treadmill you swore you’d use. Store items in a basement, spare room, or better yet, donate what you don’t need.
Short-term storage options: If your home is already full, consider renting a temporary storage unit. If you’re friendly with your neighbors, consider asking whether they have space to store some of your things temporarily.
Outdoor storage: Got a fridge or freezer in the garage? Store it outside under a tarp, but make sure it’s securely closed. Make sure the appliance is locked to prevent any accidents.
Wall-mounted items more than 3 feet off the ground are safe to stay, though.
Garage Floor Epoxy Installation: Step 2 – HVAC and Electronics
Here’s a simple but crucial step: turn off any HVAC systems in the garage before the crew arrives. This prevents dust from flying into your home. If your garage has electronics that you can’t remove with the rest of your things, make sure to wrap them up securely. Dust and debris can damage electronics, so wrapping or, preferably, removing them ensures they stay protected.
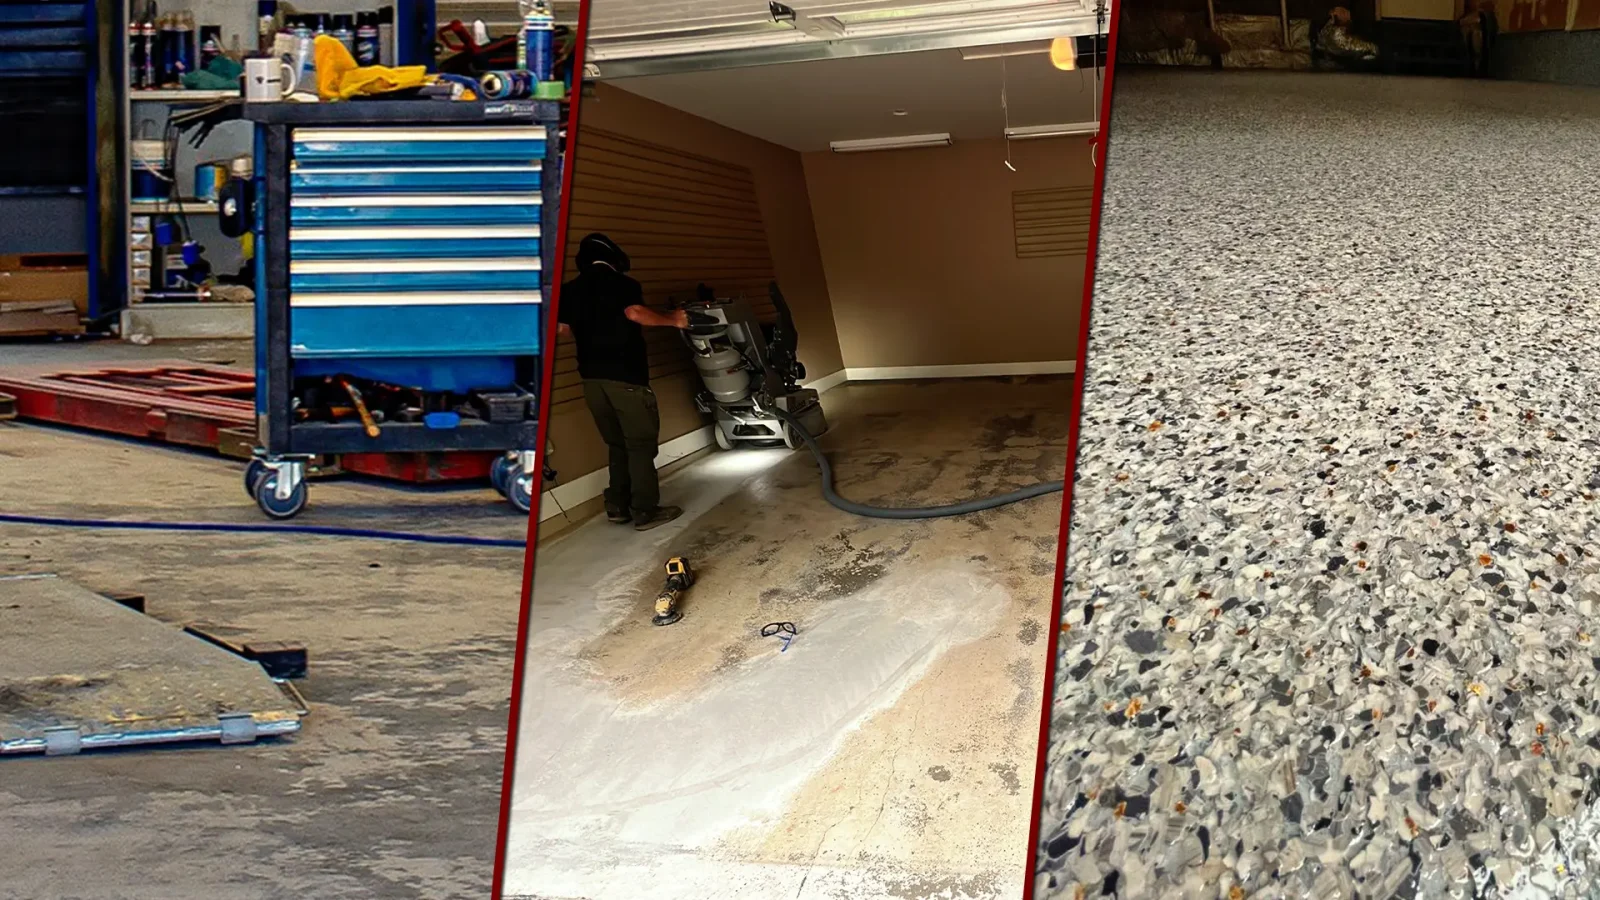
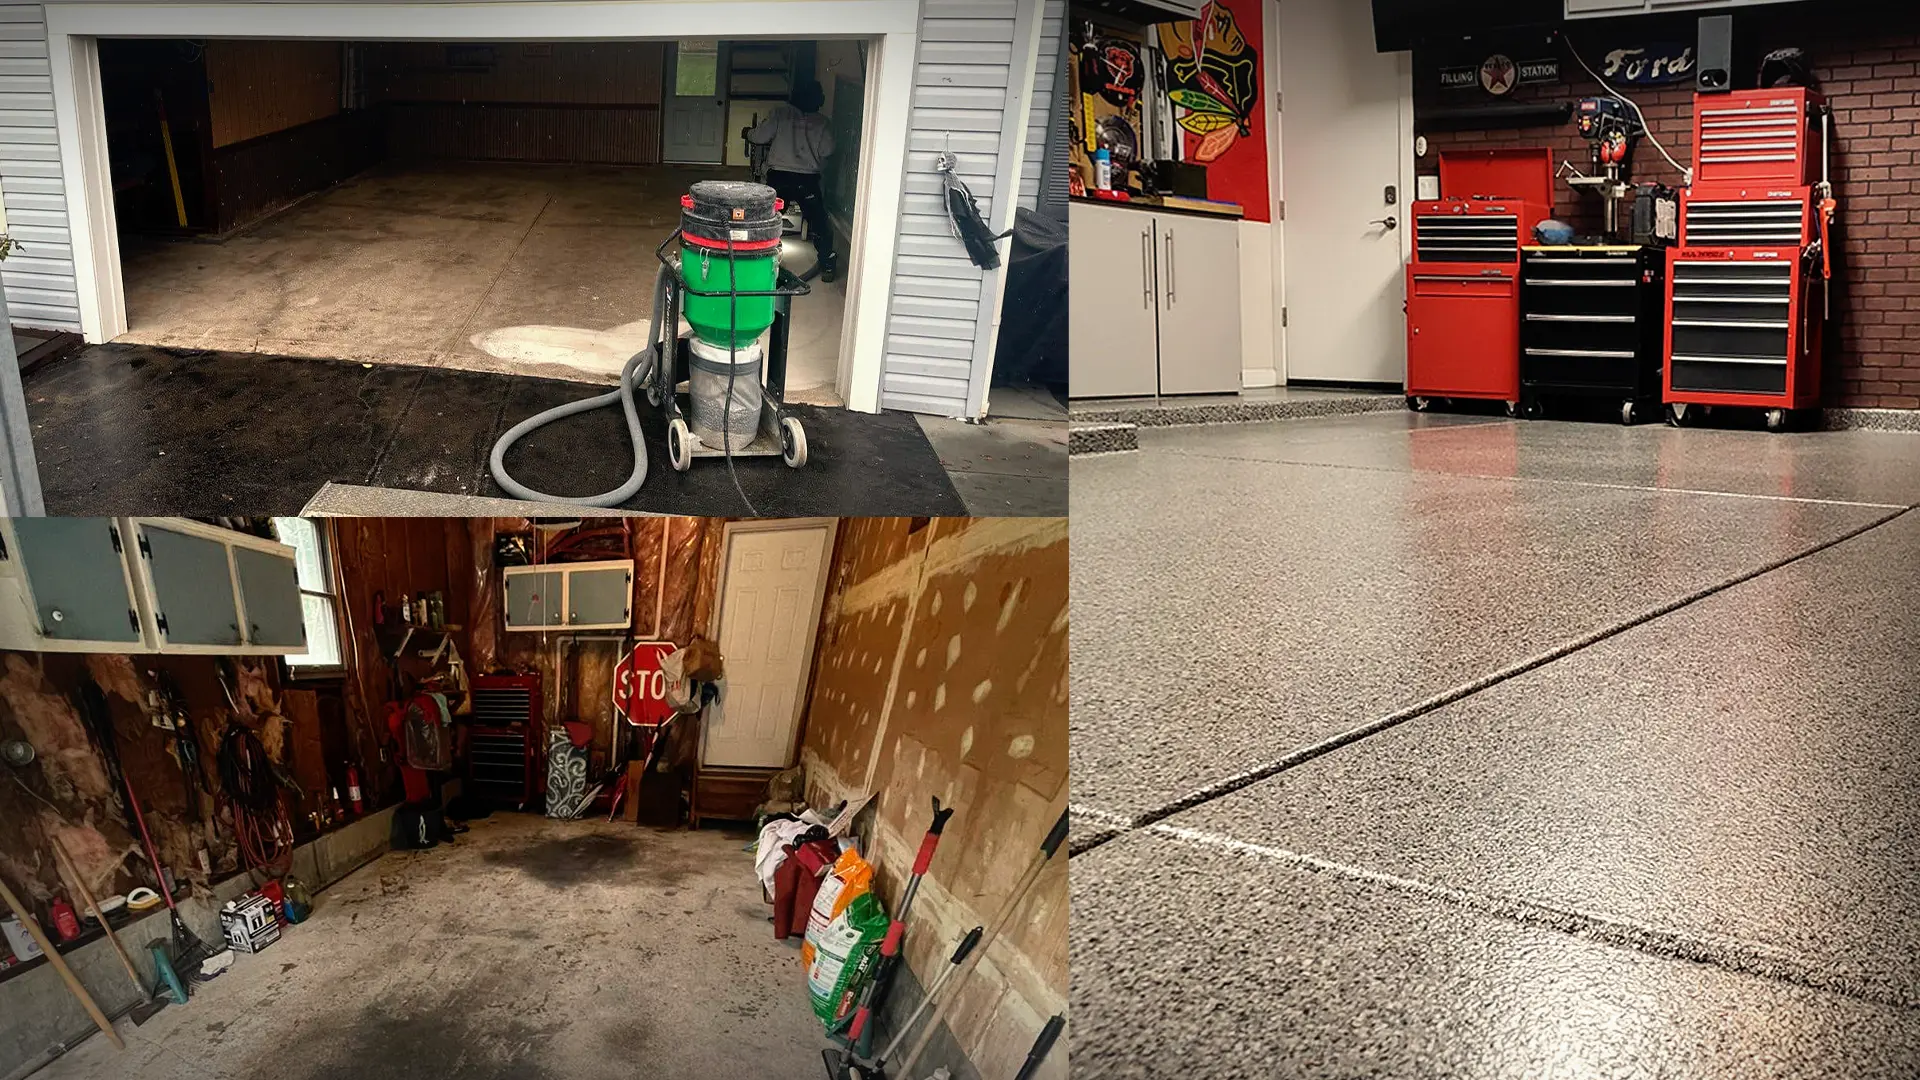
Garage Floor Epoxy Installation: Step 3 – No DIY Prep Required
Good news! You don’t have to stress about prepping the floor. The Detroit GatorGuard crew has it covered (pun intended):
Grinding the floor: They’ll grind down the concrete, removing old paint, stains, and whatever else has seen better days.
Filling cracks: Got a few cracks from Detroit’s freeze-thaw winters? They’ll take care of those, too. Cracks and joints will be filled with high-quality materials to ensure a smooth surface.
All you need to do is sit back, relax, and let the pros handle the heavy lifting.

Garage Floor Epoxy Installation: Step 4 – Home/Yard Maintenance Pause
While GatorGuard works on your new garage concrete floor coating, it’s best to avoid yard work or home maintenance. Mowing the lawn or using power tools nearby can stir up dust and debris that might settle on the fresh coating. We recommend holding off until the floor is completely finished to keep it looking flawless.
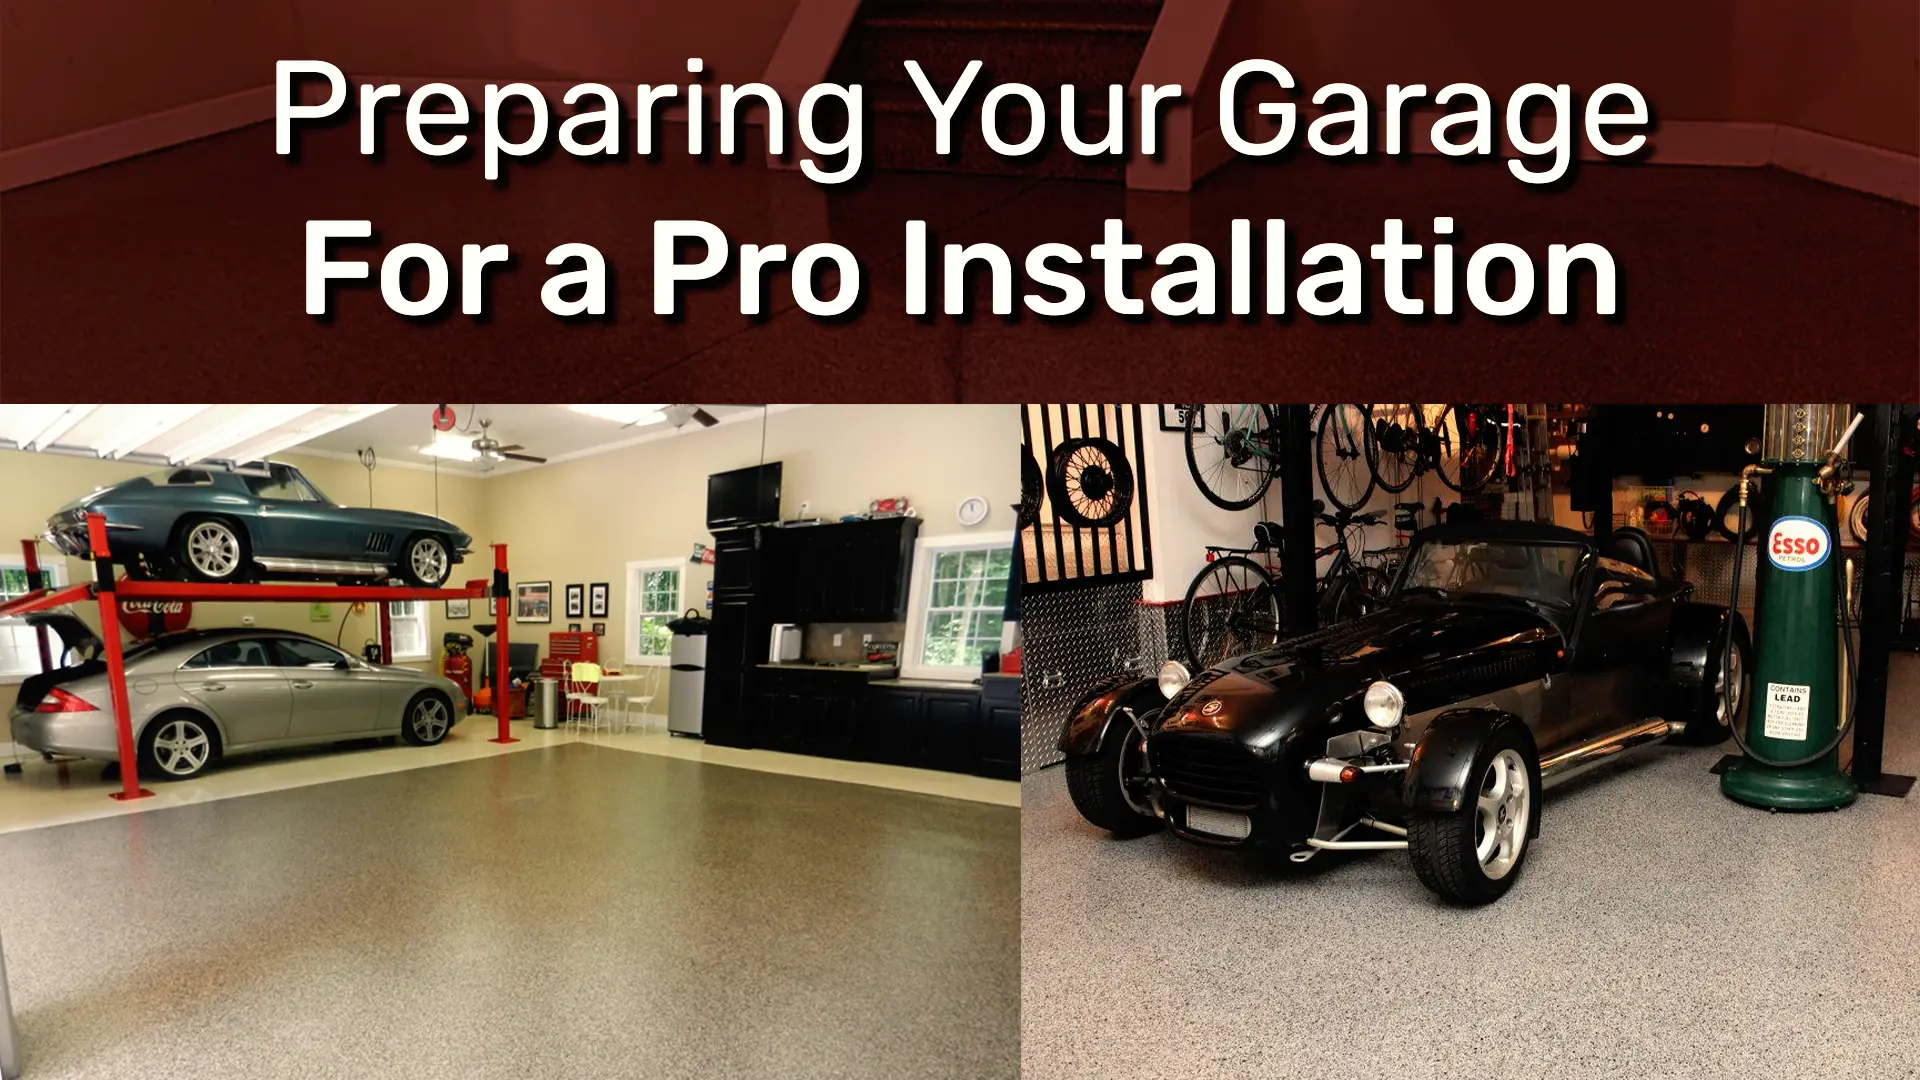
Detroit’s Best Epoxy Flooring Solution in Your Garage
Between Michigan’s winters and salty roads, your garage floor takes a beating. But with epoxy flooring solutions from GatorGuard, you’ll get a durable, moisture-mitigated surface that can handle Detroit’s toughest elements. Plus, it looks fantastic. Whether you’re hosting a family get-together or just want a space for projects, your garage will be ready for anything.
Share this Post